Authentication Bypass via Information Disclosure - PortSwigger
Using the HTTP TRACE method to identify a trusted IP authorization header, bypass an IP-based access control mechanism, and access the admin panel with Burp Suite.
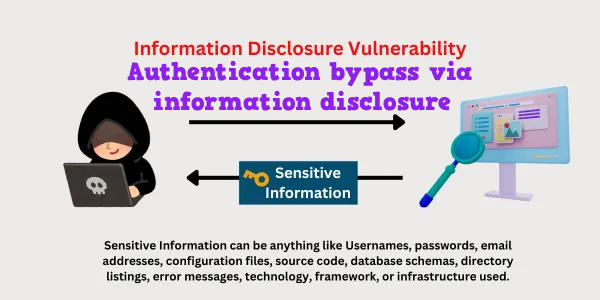
Overview
This lab demonstrates how information disclosure can reveal an internal access-control mechanism and lead to unauthorized administrative access. Using Burp Suite, I investigated the application’s HTTP behavior, discovered the X-Custom-IP-Authorization header through the TRACE method, and tested whether the header could be manipulated to access the admin panel. By supplying 127.0.0.1 as the authorized IP address, I accessed the admin interface and deleted the user carlos.
Question / Lab Objective
The objective was to bypass the application’s access restrictions, access the administrative interface, and delete the user carlos.
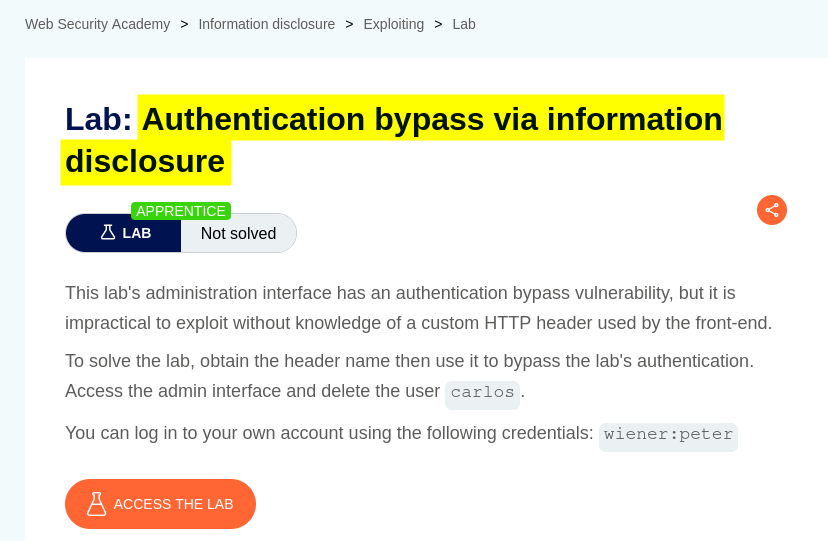
Walkthrough
1. Exploring the application
After launching the lab, I accessed the target application and explored its available functionality. The website displayed a list of products, individual product pages, and a My Account option.
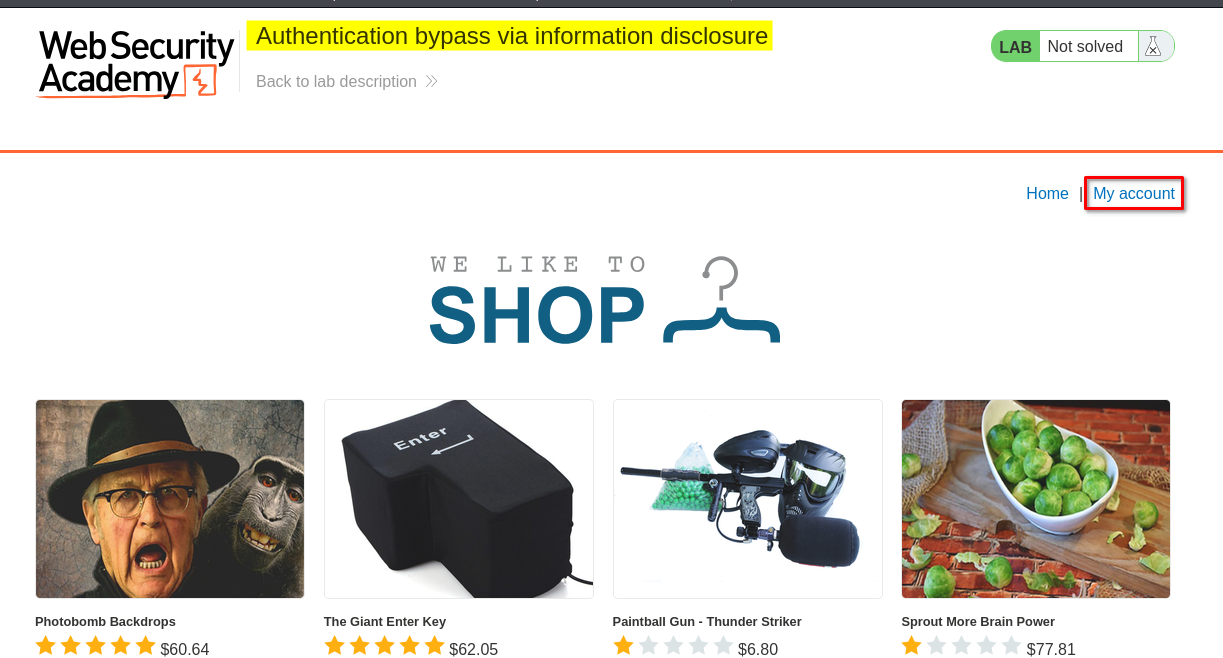
I browsed the application to understand its structure and identify the available entry points before investigating the authentication mechanism.
2. Accessing the login page
I clicked My Account, which redirected me to the login page.
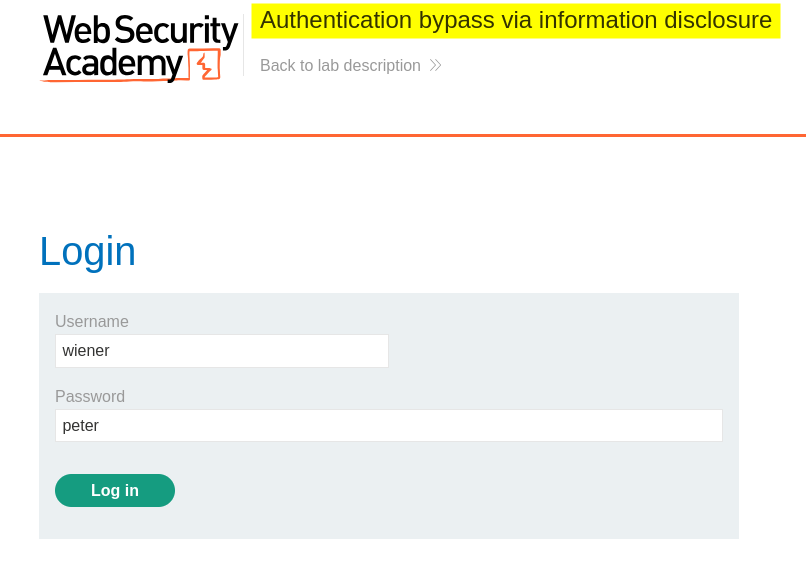
I entered the credentials provided by the lab and submitted the login form. After successfully logging in, I was redirected to my account page.
3. Observing the account dashboard
After logging in, I found an account page containing a form for updating my email address.
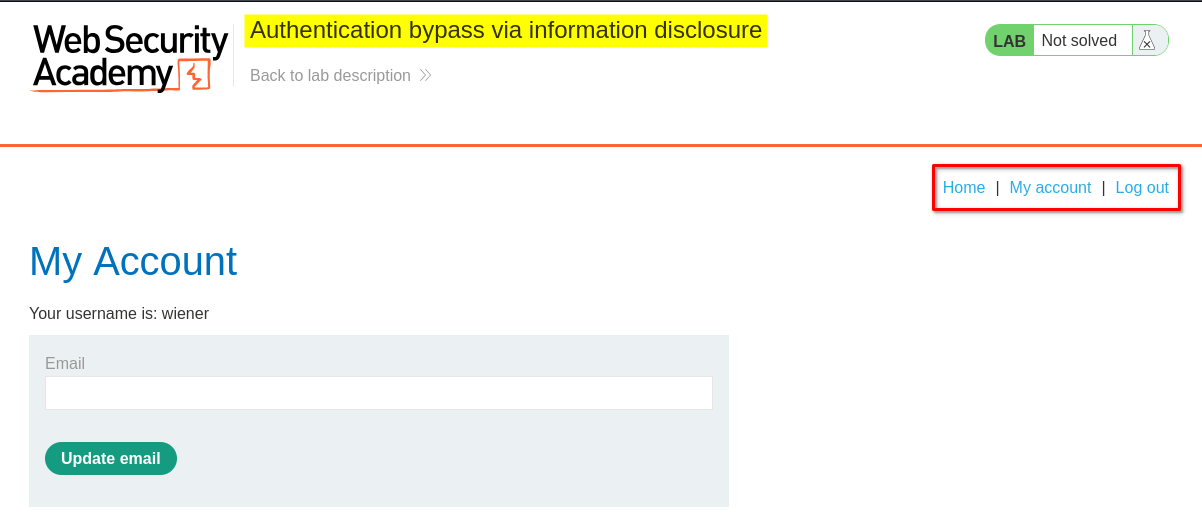
Initially, I was confused about how an email-update form could help me bypass authentication or reach the admin panel. I was focusing on the visible functionality rather than the underlying access-control mechanism.
This is an important learning point: not every lab vulnerability is directly related to the feature currently displayed on the page.
As a penetration tester, I need to consider other questions:
- What happens when I access a restricted URL directly?
- Does the application rely on the login session, an IP address, or another condition to authorize access?
- Are there HTTP methods or response headers that reveal how the application handles requests?
- Does the application expose diagnostic information that can help me understand its internal behavior?
Instead of continuing to focus on the email-update form, I decided to investigate the account URL and inspect the HTTP responses.
4. Investigating the account URL
While exploring the account functionality, I encountered an error when accessing the relevant account URL.
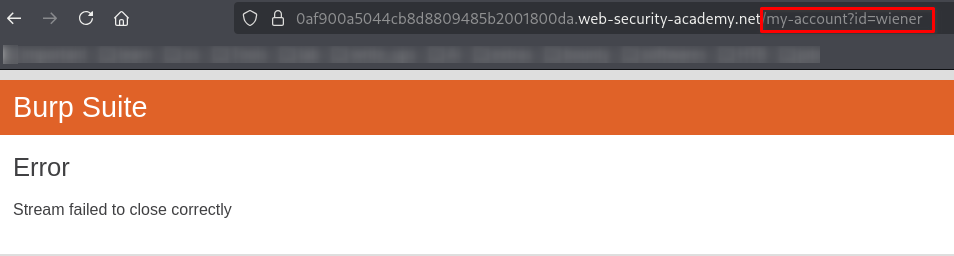
This made me reconsider my approach. Rather than repeatedly interacting with the same page, I decided to examine the application’s HTTP requests and responses using Burp Suite.
An error does not automatically indicate a vulnerability, but it can provide a useful starting point for investigating how a server processes requests.
5. Discovering the /admin Endpoint
To identify additional endpoints, I reused the content-discovery technique I had practised in my previous write-up, Source Code Disclosure via Backup Files, specifically Steps 3 and 4.
Using Burp Suite’s Discover content feature, I performed content discovery against the lab application and examined the results in the site map.
During this process, I discovered the /admin endpoint.
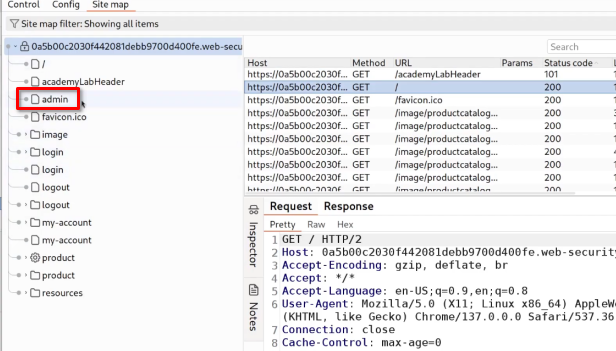
This was an important finding because administrative endpoints may expose privileged functionality and should be investigated to understand how access is controlled.
Discovering an endpoint does not automatically mean that it is vulnerable. The next step was to determine whether the application restricted access appropriately and whether its HTTP behavior revealed anything about the underlying authorization mechanism.
6. Capturing a request
I opened Burp Suite and used its built-in browser to access the lab. I captured a request to the application and sent it to Repeater.
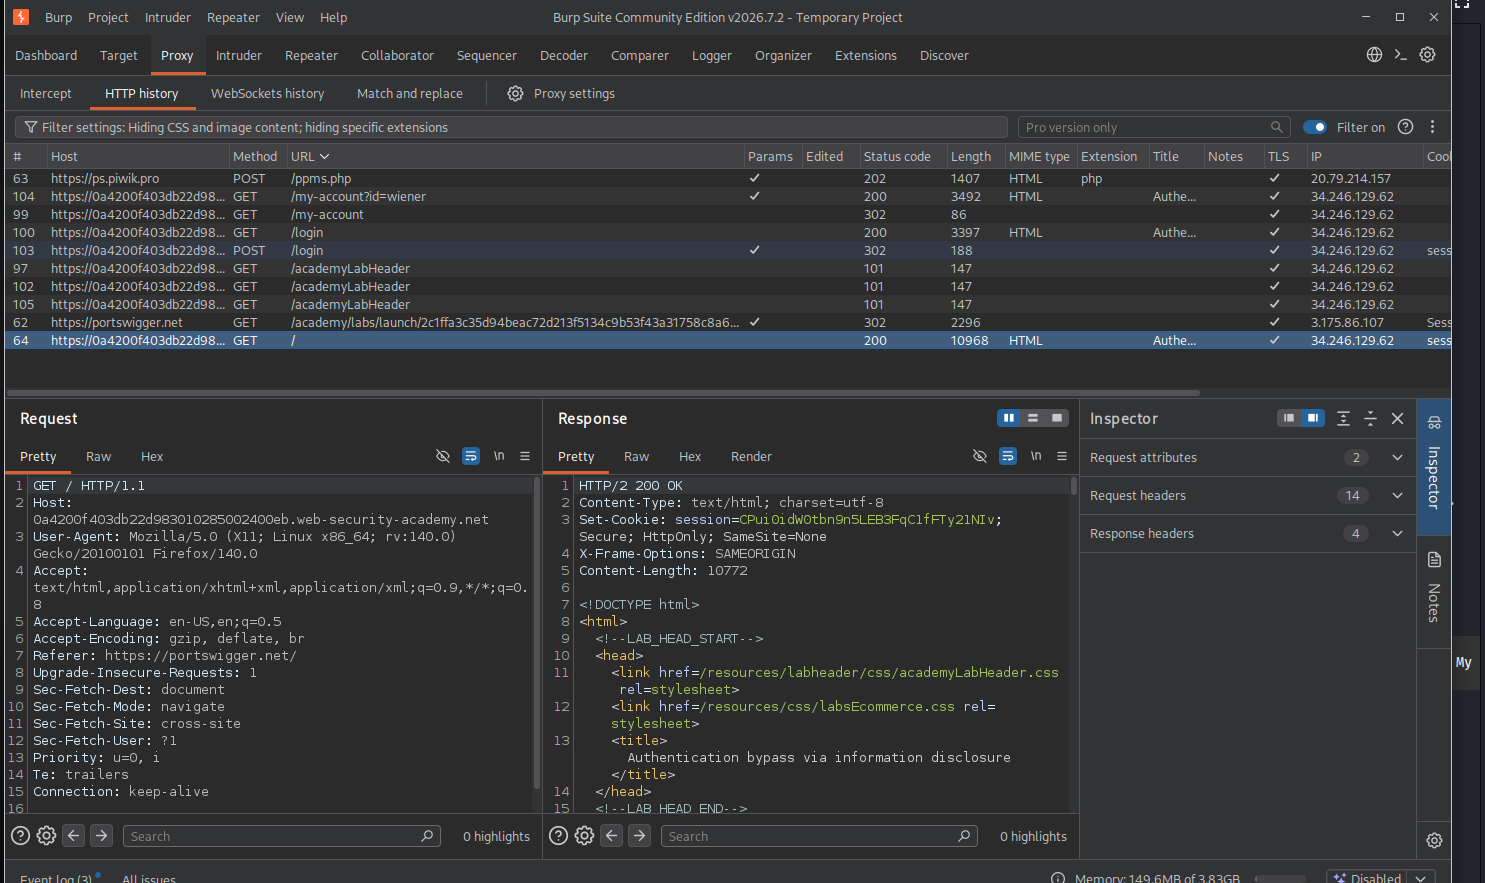
Repeater allowed me to modify individual HTTP requests, send them to the server, and compare the responses without repeatedly navigating through the browser.
At this point, I was no longer testing only the website’s visible features. I was investigating how the server responded to different HTTP methods and request headers.
7. Using the TRACE method to investigate HTTP behavior
While working through the lab, I learned about the HTTP TRACE method and used it to investigate how the application handled requests.
The TRACE method is intended for diagnostic purposes. A server that supports it can return information about the received request, helping a client understand how the request was processed.
I changed the HTTP method of the captured request to TRACE and examined the response.
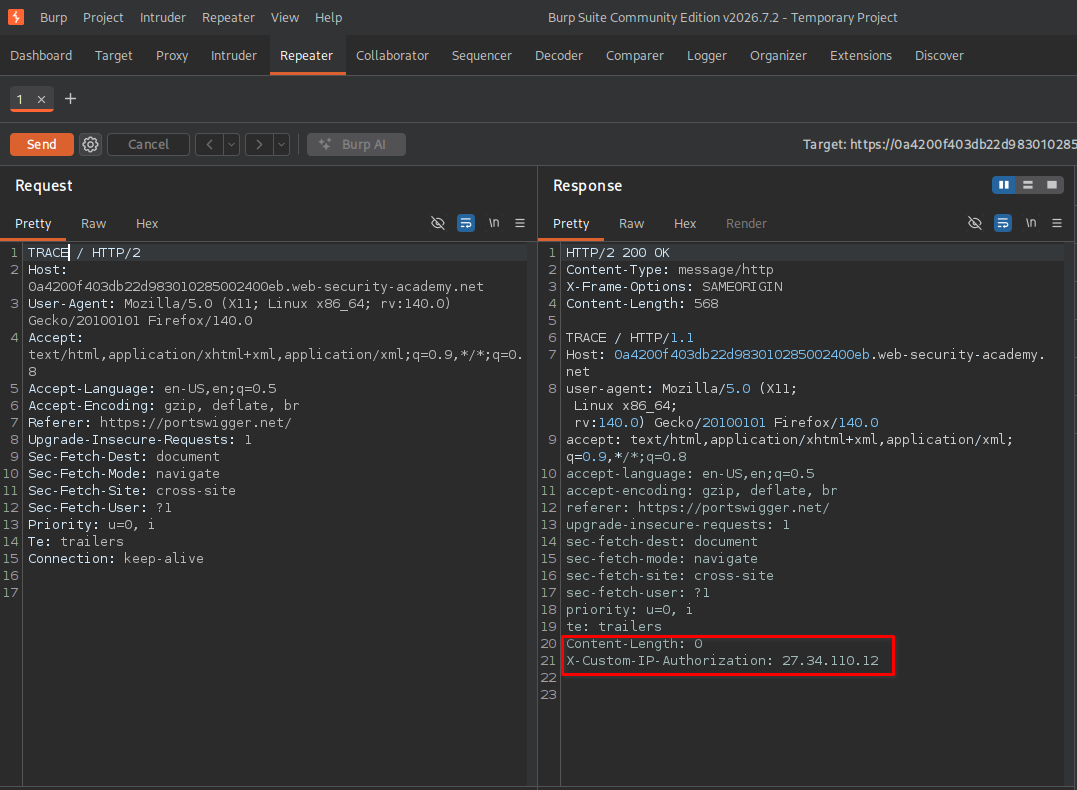
The response revealed a header named:
X-Custom-IP-Authorization
This was the important clue.
The header indicated that the application’s request-handling infrastructure was using a custom header associated with the client’s IP address. This suggested a possible relationship between the header and the application’s access-control mechanism.
How should a pentester recognize this clue?
I did not initially know that I should test the TRACE method. I learned this technique while consulting other write-ups, but the reasoning behind it is more important than memorizing the method.
A systematic approach would be:
- Observe the error or restriction. Determine which resource is restricted and what response the server returns.
- Inspect the HTTP response. Look for unusual headers, server behavior, or diagnostic information.
- Form a hypothesis. A custom header containing an IP address may indicate that access depends on the IP value received by the backend.
- Identify a testable assumption. If the application trusts this header, changing its value might affect authorization.
- Test the assumption in the authorized lab. Modify the relevant header and compare the response.
The key is not to try random HTTP methods without a reason. It is to use unusual responses and disclosed information to develop a hypothesis and test it.
What about HTTP/2 being downgraded to HTTP/1.1?
In my testing, I also noticed that the request handling involved HTTP/1.1 rather than HTTP/2.
This is worth understanding, but the protocol change is not itself proof of the vulnerability.
HTTP/2 and HTTP/1.1 have different message formats and protocol requirements, but both can represent HTTP requests with methods and headers. The important question in this lab is whether the application accepts and trusts the custom IP authorization header.
Would the attack still work over HTTP/2?
Potentially, yes. If the same trusted-header weakness exists and the request reaches the relevant backend with the header intact, changing the protocol version would not inherently fix it. However, the result depends on how the frontend proxy, HTTP server, and backend handle the method and header. Some configurations may reject or transform the request.
Therefore, the HTTP version change was useful context to observe, but the decisive issue was the trust placed in X-Custom-IP-Authorization.
8. Adding X-Custom-IP-Authorization using Match and Replace
After discovering the header, I investigated whether I could control its value.
The relevant concept is IP-based access control. An application may permit administrative access only when a request is considered to originate from a trusted IP address. If that decision relies on a client-controlled header without proper validation, an attacker may be able to spoof the trusted address.
In this lab, I used:
X-Custom-IP-Authorization: 127.0.0.1
The address 127.0.0.1 is the IPv4 loopback address, commonly known as localhost.
I configured Burp Suite’s Match and Replace feature to add or replace the request header automatically.
The steps were:
- Open the Proxy tab.
- Find the Match and replace settings.
- Click Add to create a rule.
-
Configure the rule to add or replace the request header with:
X-Custom-IP-Authorization: 127.0.0.1 - Leave the match field empty if the selected rule type and Burp Suite version support adding a header this way. Otherwise, configure the rule according to the displayed matching options.
- Save the rule and verify that the header appears in outgoing requests.
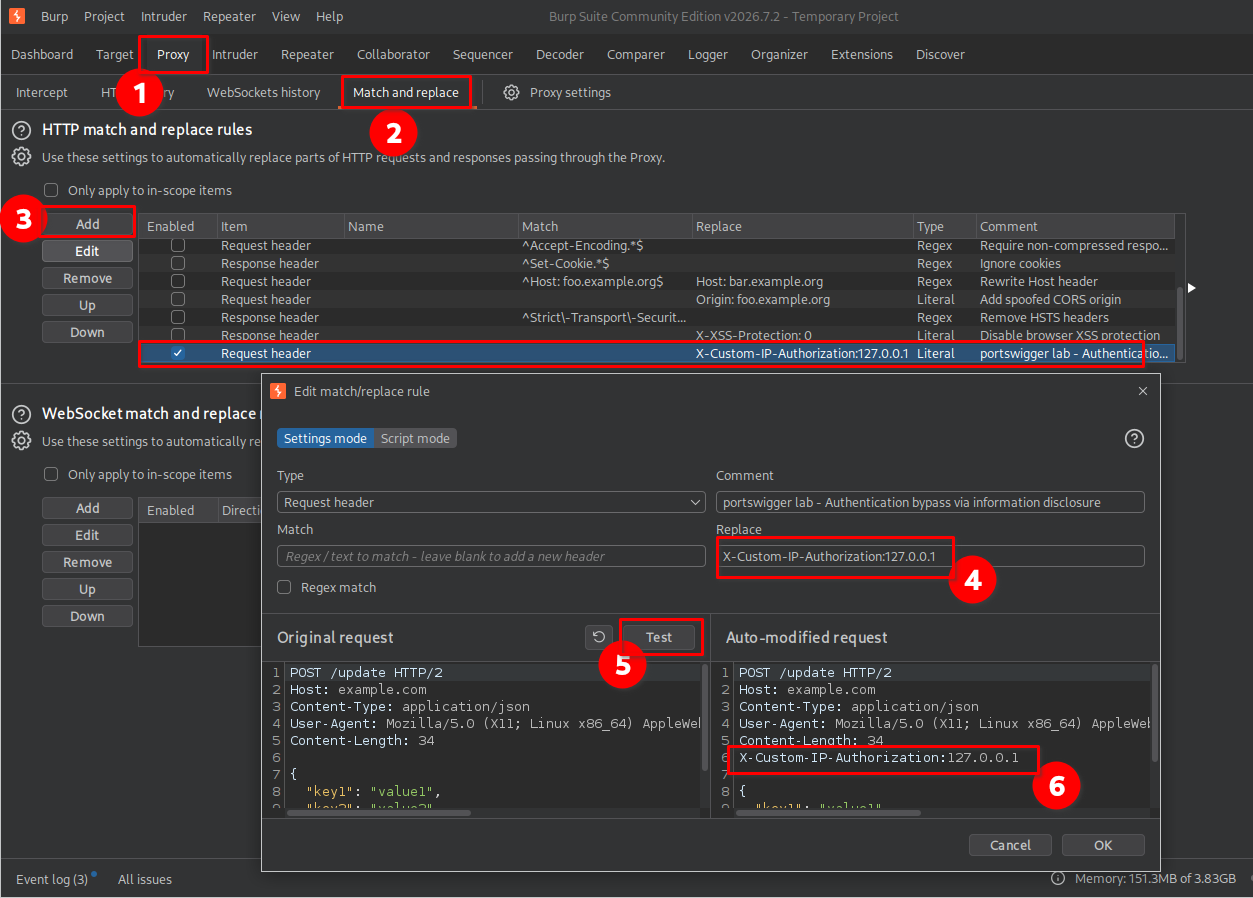
After enabling the rule, Burp Suite could automatically modify matching requests sent through the proxy.
Why does 127.0.0.1 matter?
This was another concept I needed to understand.
127.0.0.1 is the loopback address. When a process on a machine connects to that address, the connection refers back to that same machine.
In a typical reverse-proxy architecture, the frontend server receives a request and forwards it to a backend application. The backend may use a header such as X-Custom-IP-Authorization to determine whether a request should be treated as coming from a trusted address.
If the backend trusts a user-controlled value in that header, an attacker may be able to claim that the request originated from 127.0.0.1, even when the original request came from an external client.
The crucial distinction is:
- The request does not magically become a local connection. The client is still connecting remotely.
- The application may be fooled about the request’s origin. If it trusts the spoofed header, it may apply the permissions intended for localhost requests.
- The backend must trust the header for this to work. A secure application should not accept arbitrary client-supplied IP headers as proof of identity.
Would using another IP address work? Only if that address satisfies the application’s access-control policy. In this lab, 127.0.0.1 was the relevant trusted address.
9. Testing /admin without the modified header
Before testing the modified request, I disabled the Match and Replace rule to observe the application’s normal behavior.
I then accessed the administrative path:
https://<lab-id>.web-security-academy.net/admin
Without the custom header, I could not access the admin panel.
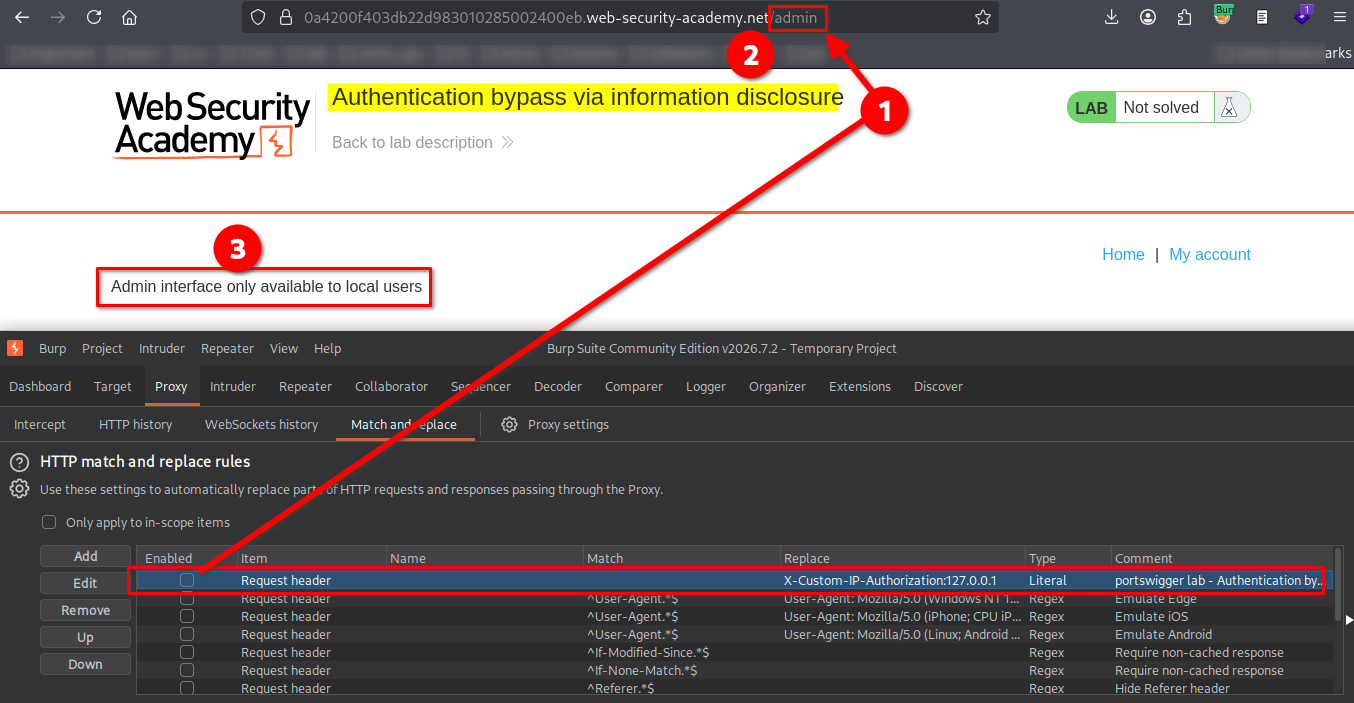
This established a useful baseline. The administrative resource was restricted under the normal request conditions.
Comparing the normal request with a modified request would help determine whether the custom header influenced the access decision.
10. Accessing the admin panel with the modified header
I re-enabled the Match and Replace rule and accessed /admin again through the Burp Suite browser.
This time, the request included:
X-Custom-IP-Authorization: 127.0.0.1
The application allowed me to access the administrative interface, where I could see the available user-management functionality.
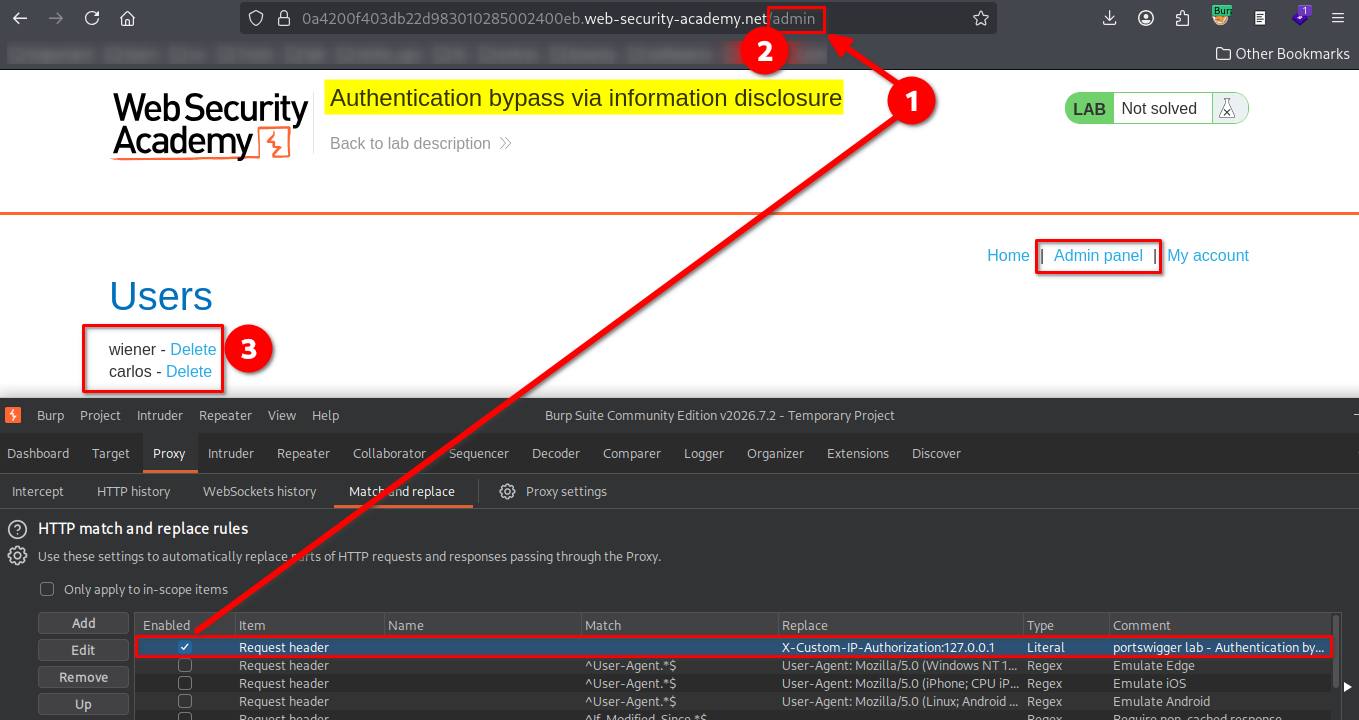
The result confirmed the hypothesis: the application trusted the custom header when deciding whether to grant access to the admin panel.
This was the authentication-bypass technique demonstrated by the lab. More precisely, the weakness involved bypassing an access-control check by manipulating a trusted IP-related header.
11. Deleting the user carlos
After reaching the admin panel, I located the user carlos and used the available delete functionality.
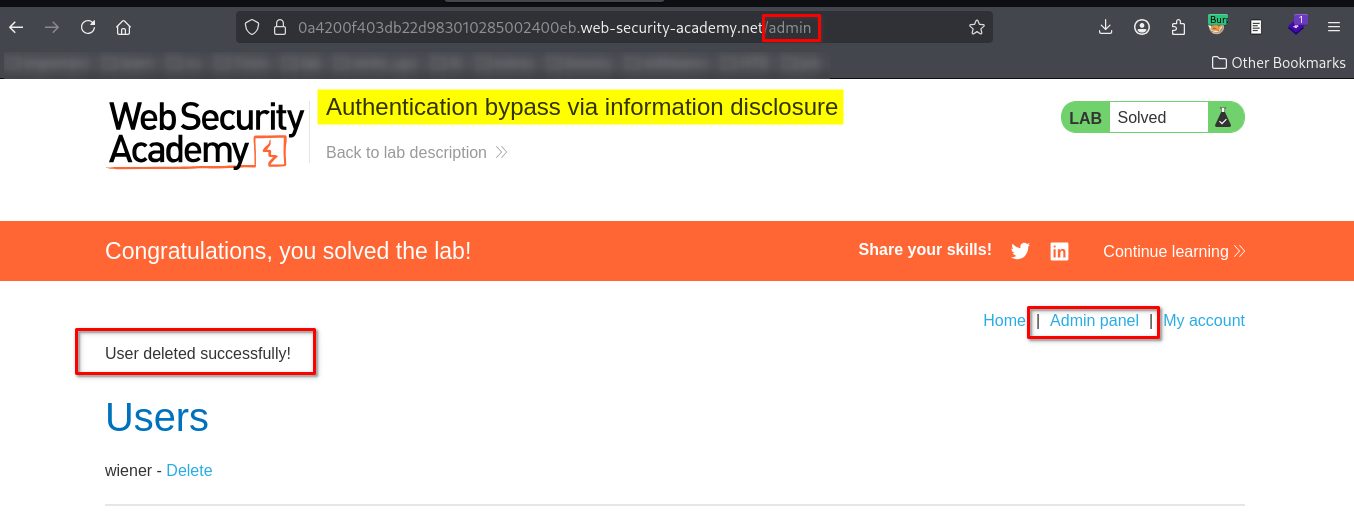
The lab displayed its completion confirmation after the required action was completed.
This confirmed that I had successfully bypassed the application’s access restriction and performed the required administrative action.
Key Takeaways
- Investigate the underlying access-control mechanism: Visible application features may not reveal how restricted resources are protected.
- Inspect HTTP methods and headers: Unusual server behavior can expose information about request processing and internal infrastructure.
- Understand the TRACE method: It can help diagnose request handling, but it should not be treated as a universal method for discovering vulnerabilities.
- Recognize trusted-header vulnerabilities: Headers such as
X-Custom-IP-Authorizationare dangerous when the backend accepts client-controlled values as trustworthy identity information. - Understand localhost:
127.0.0.1refers to the loopback interface of the machine evaluating that address. Its meaning depends on where the check occurs. - Use comparative testing: Comparing access with and without a modified header helps establish whether that header affects authorization.
- Separate authentication from authorization: Authentication establishes identity; authorization determines what an identity or request is allowed to do. This lab’s core weakness was an access-control decision based on a spoofable header.
Security Impact
If an application trusts a client-controlled IP authorization header, an attacker may be able to bypass restrictions intended to protect administrative resources.
Depending on the application’s functionality, this could lead to unauthorized access to administrative interfaces, account deletion, changes to user data, or other privileged operations.
In this lab, the weakness allowed access to the admin panel and deletion of the user carlos. In a real-world assessment, the impact would depend on the affected functionality, the privileges exposed, and whether the header could be controlled by an unauthorized user.
Remediation
To prevent this type of vulnerability:
- Do not trust client-supplied IP headers by default. Headers such as
X-Custom-IP-Authorizationcan be forged unless they are handled by a trusted infrastructure component. - Enforce trusted-proxy configuration. If forwarded IP headers are required, accept them only from explicitly trusted proxies that remove or overwrite untrusted incoming values.
- Use robust administrative access controls. Protect sensitive endpoints with appropriate authentication and server-side authorization checks rather than relying solely on an IP-related header.
- Restrict diagnostic HTTP methods. Disable
TRACEwhere it is unnecessary and ensure that diagnostic functionality does not disclose sensitive request information. - Validate access decisions on the server. Never treat a header supplied directly by an untrusted client as sufficient proof of identity or authorization.
- Test reverse-proxy behavior. Verify that frontend proxies and backend services consistently handle identity-related headers and do not allow clients to override trusted values.
Conclusion
This lab demonstrated how information disclosure can reveal a weakness in an application’s access-control mechanism. By examining the application’s HTTP behavior with Burp Suite, I discovered the X-Custom-IP-Authorization header and investigated how its value affected access to the admin panel.
Using Burp Suite’s Match and Replace feature, I supplied 127.0.0.1 in the header and gained access to the restricted administrative interface. I then deleted the user carlos to complete the lab.
The main lesson is that a security control is only as reliable as the information it trusts. If an application relies on a client-controlled header to decide whether a request is authorized, that decision can become vulnerable to spoofing.
Thanks for reading!